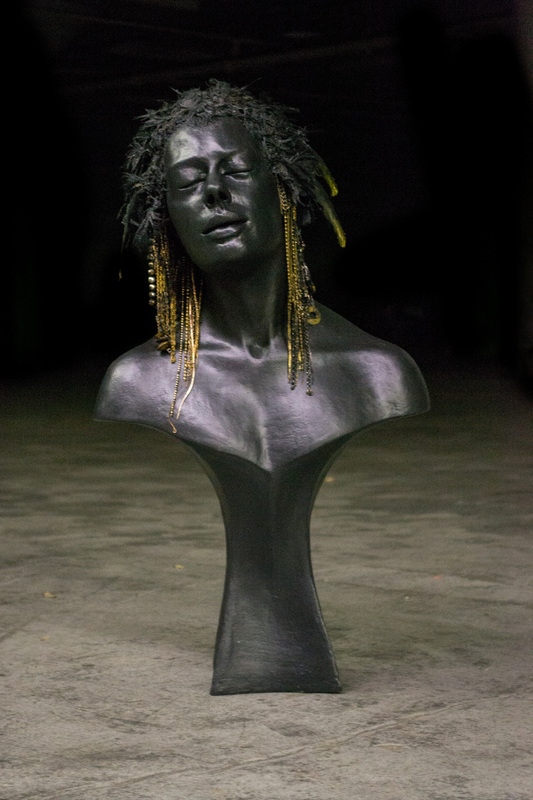
My latest sculpture, Hatsheput (hat-shep-sut) is a life-size multi-media bust created by a number of different processes. I worked on this piece during the 2nd half of 2013 and finished it during January 2014. You can see it here on my website: Sculpture.
I'm sorry I don't have more images available, unfortunately in progress shots were an after thought. My next pieces tend to have more images.
PREP WORK:
For this piece I spent a lot of time before I even started the sculpture looking for found objects to use. I searched thrift stores mostly and a few online ads. I also had the model come in so I could measure her proportions and take pictures of her all the way around, getting a number of different angled shots.
THE CERAMIC MODELING:
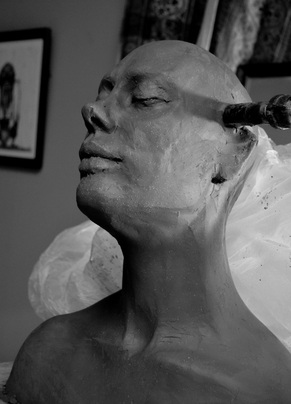
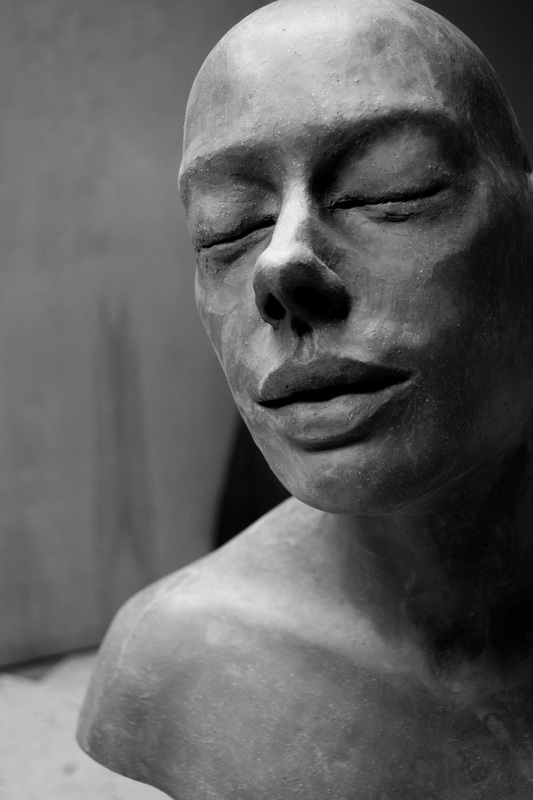
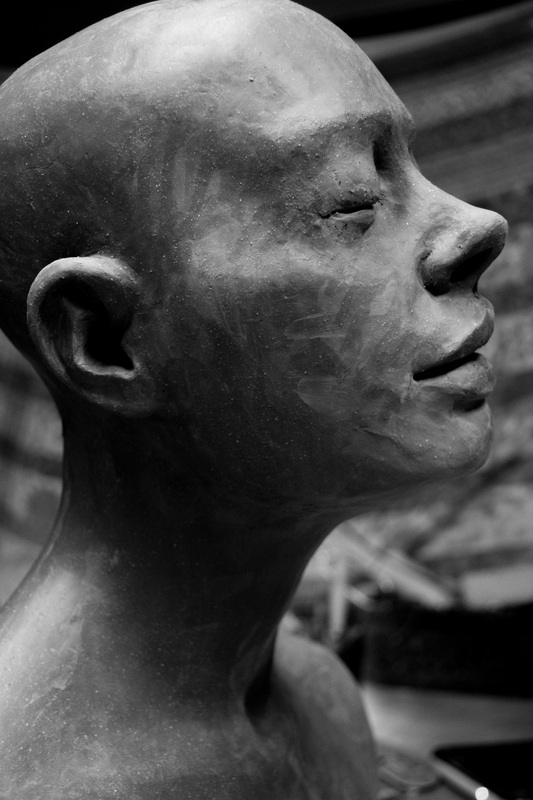
I began by working with a model to get the pose I wanted. I measured her proportions and worked with the photographs until the basic form was complete, then I worked with the model in person for about 9 hours to make sure I got a full expression. The bust shoulders up was constructed separately from the base and was attached later after both pieces had become leather hard.
The head and shoulders were solid built using a pipe armature for support. After it was modeled the piece was cut in half along the pipe armature. The two head pieces had to be cut off the shoulders section because of weight. I then hollowed all of the pieces and let them stiffen. When they were ready I attached the head pieces and shoulder pieces together and let them harden. after both the head and shoulders were well attached I attached the head back to the shoulders.
This part of the process was rather difficult and required lot of darting and adjusting to get the connection just right. The head required a support under the chin for a while until the moisture evened out and the clay became stiff. I added some inside clay walls under the shoulders to add extra support for the head. At this point, I worked with the model in person for a bit to get the head, face, and shoulders right.
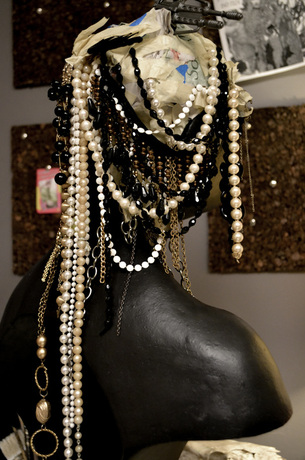 The tape and newspaper model
 The Base was coil built and formed to fit with the chest of the piece. I added inside walls to the inside of the base too since the concave shape of the base put a lot of weight in certain areas. The connection of the two large pieces was especially difficult because in order to line them up I had to put both the head and shoulders and the base on their side and position and alter them until I was able to form a good match. Ceramic pieces can be very fragile when they are moved around in this state so I had to be especially careful not to put any pressure on the structure of the piece. I used foam and vermiculite filled pillows for support.After I had them lined up I then created a lip inside and connected the two parts. Since the bottom of the piece was hollow, I was able to get my hand in get a good attachment to the back side of the connection. I then let the piece harden evenly to leather hard and then finally positioned the piece upright. I was then able to get my final session with the model and polish the appearance. It is important to do this step last as the piece may take some banging up in the connection process. It was necessary with this piece at the end to cut a small window in the back of the head and hollow out more material that I added on during the construction of the shoulders and face. After allowing the piece to dry VERY slowly over 3 weeks, this meant leaving it partially covered, then recovering it again and again to assure even drying, I then fired it in the kiln with an 6 hour candling and a slow bisque. Now the scary part is over...
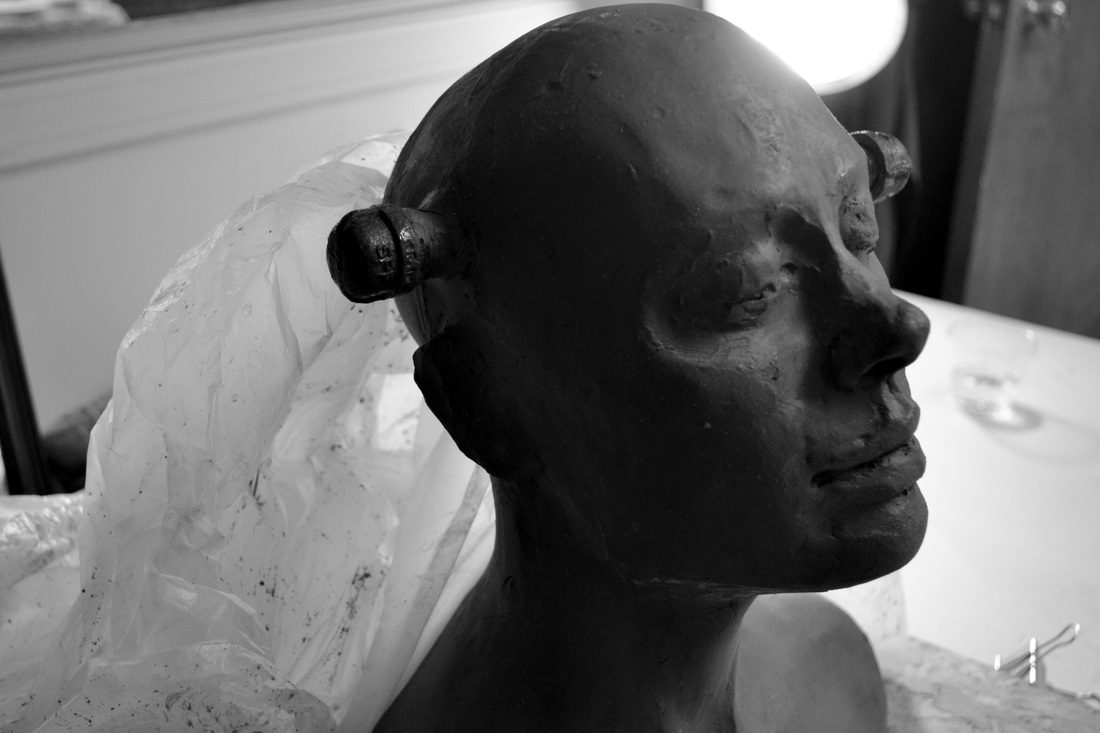
After it was fired I went back and filled a few small cracks with epoxy sculpt and sanded a few small imperfections. Then I painted the piece with black latex paint that included the primer. The primer is important or the paint will just peal off. You should still be careful not to mar the piece with this paint though.
THE HEADDRESS:
Before I began construction used tape and newspaper to attach the pieces and get an idea of the shape and form of the headdress. I had so many different materials to use it was necessary to see how it would all come together.
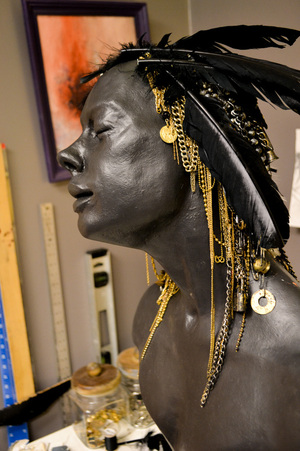
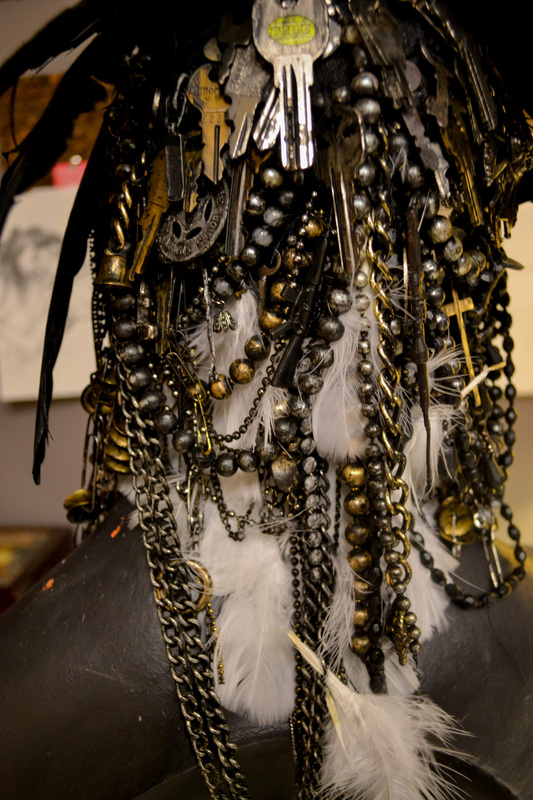
To construct the headdress I epoxied a wire under structure to the top head, making sure no paint was in those areas. I then sewed black canvas onto the wire structure. From this armature of sorts, I sewed on the feathers, scrap metal and jewelry, and found objects. After they were attached I used clear epoxy to fix certain things in place such as feathers and extra found objects. I then added a black wash of latex paint to all the found objects to make the piece aged. After that I used black roofing cement which is a tar-like substance to add the texture to the piece and to attach the smaller feathers, also using turpentine in certain spots to remove excess material. Finally after a few touch ups to the paint and headpiece, the piece was finished.
 RSS Feed
